You can completely transform a room by changing what’s on the walls. That being said, imagine if you innovated the entire wall itself. If you’re reading this article, you’ve probably taken the first step to doing that: getting a Wall Mural from Wall 26. If you haven’t yet, you can get one here. Wall26 offers thousands of fun and unique wall murals fit to any room style!
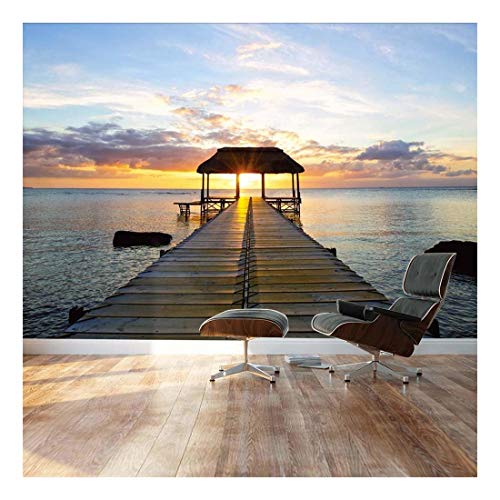
The best thing about getting a Wall Mural from Wall26 is that it’s easy to put up. They’re a bit more tricky than your average wall art (like canvas art, tapestry, or decals), but that’s only because of how much wall they actually cover. With a wall mural, you’re literally transforming the look of an entire wall.
So now that you’ve got your wall mural ready, you’re ready to put it up! Below are the 8 simple steps you need to put up your new Wall26 Wall Mural!
Step 1: Clean the wall
Wipe down the surface of your wall with a dry, lint-free cloth. Make sure you remove all of the dust. The cleaner the wall is, the better results you will get from putting up your wall mural.
Once the wall surface is clean, locate the first panel of your wall mural (labeled #1 on your instruction sheet).
Step 2: Prepare the first panel
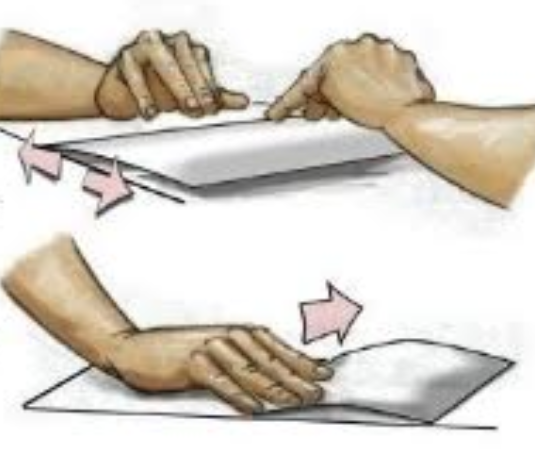
Lay the panel down on a flat surface with the image facing down. Begin peeling the backing paper until you expose about 6 inches of the adhesive. For easier installation, crease the backing paper back so it doesn’t get in the way when you’re putting the panel up.

Step 3: Align the panel into place
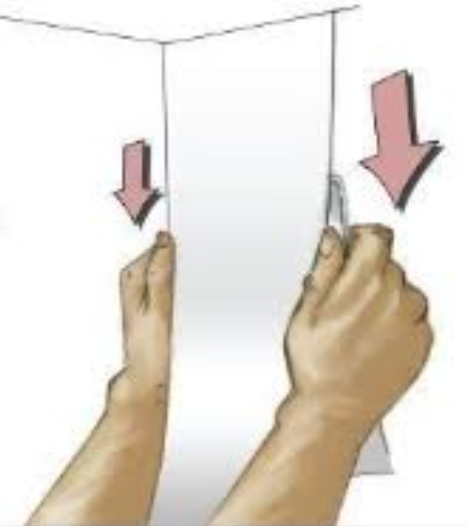
Align the top edge of the panel with the top edge of your wall. Press your fingers firmly into the top part of the panel. Use your fingertips for better precision. This should stick the panel into place. If you’re unhappy with the position of the panel, remove it and align it to the wall again.
Step 4: Begin pasting the panel
Grab that dry cloth from Step 1, you’re going to need it here. Take the cloth and begin methodically applying pressure. Start from the center, then move to the left edge and to the right edge. Start at the top of the graphic and continue this moving down.
Step 5: Continue pasting panel 1
Continue your methods from step 4. Once you’ve reached the bottom of the exposed adhesive, remove 6 more inches of the backing and continue the movement. We recommend going 6 inches at a time for greater precision and quality.
Step 6: Continue pulling down the backing paper
Do this until you’ve reached the bottom of the panel and it’s fully adhered to the wall.

Step 7: Smoothen the panel
Once you adhere the panel from top to bottom, rebrush the outer 3 inches with your cloth using a circular motion. This will ensure the best adhesion.
Step 8: Repeat!
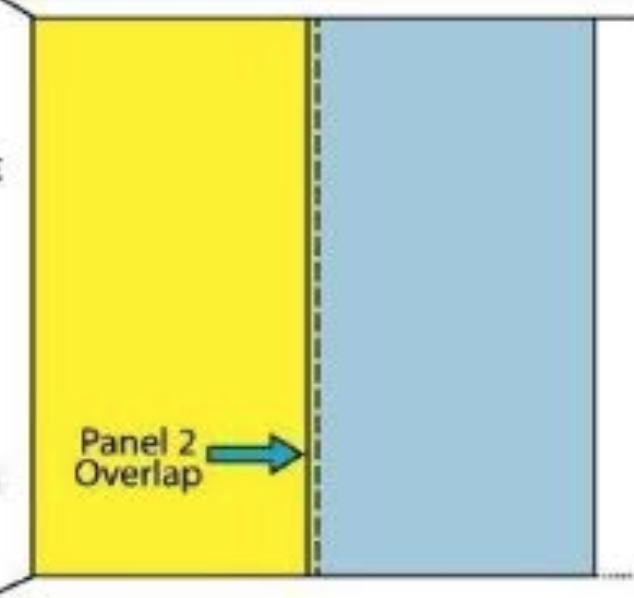
Repeat steps 2-3 for the remaining panels. Please note that the panels include a 0.5 inch overlap for ease of placement. Once all panels are up, finish by trimming all excess material.

Congratulations, you’ve put up your wall mural! Make sure to share it with us by posting a picture and tagging us on Facebook, Instagram, and Twitter! We’d love to see how your new Wall26 Wall Mural turned out!

